An important feature in Praetor G2 is the ability to use a web browser to review inbound messages that were quarantined. It is known as the Praetor Personal LoG Viewer (PLGV). Users can then release any good messages that have been incorrectly quarantined by Praetor's filters.
This is an optional capability and you need not install or use this if you choose not to let your local users to self-administer their quarantined messages or if the machine does not have sufficient resources. If you choose to use it, PLGV is an application web site that must be set up under the Microsoft IIS web server. You will need to install this capability and then configure it.
![]() Note:
Note:
|
CMS has successfully tested PLGV access using Microsoft Internet Explorer (IE). Even then, it is important to note that you cannot do so via a proxy server and PLGV must be directly accessed from your IE or you set up within IE an exception for the PLGV URL to bypass the proxy server. Otherwise you may see the error You are not authorized to view this page. This happens even if you try to view the default IIS web server page localstart.asp. Read more about this in the Microsoft KnowledgeBase article Q321488. For the Mozilla Firefox browser CMS is aware of an incompatibility due to the reliance of IIS web features.
|
To start this web browser access, use your web browser and enter the URL http://IP-address/PLGV/ for the Praetor machine, either using the numeric local IP address or the machine domain, and followed by the following two possibilities depending on the authentication method.
|
Authentication method |
URL to PLGV login page |
|
Windows (built-in) |
http://IP-address/PLGV/ |
|
SQL table or LDAP |
http://IP-address/PLGV/Weblogin.aspx |
![]() Note:
Note:
|
Windows authentication is built-in, and if it fails, the browser will be re-directed to display the Weblogin page which uses the SQL table as the default method. If you want to bypass Windows authentication, then tell your users to use the Weblogin URL. Directing the browser to this URL will always prompt for the login information, even if saved. This is the preferred page if the user is trying to log in from a public computer such as one found at an Internet café. |
The Praetor Log Viewer sign-on page then appears as shown below for the SQL table authentication method. The login screen is are slightly different for LDAP authentication which adds a domain field, and the Windows login is the same as you see when you log into your computer.
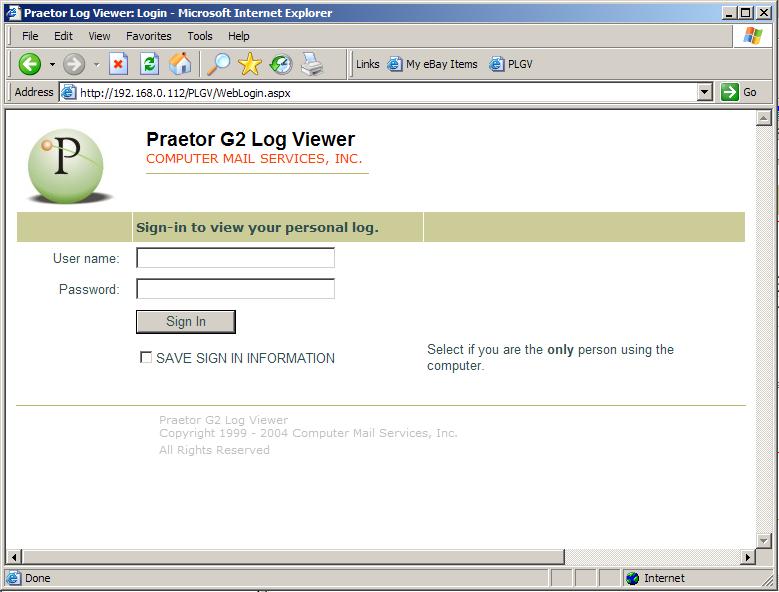
Here the user can enter their login name and password. If their account has been set up to allow access, then the user is granted access to their own quarantined message area. The Log Viewer main home page appears and they can select what period of their personal message log to view the summary entries.
As the screen warns, do not save the sign-in if this machine is used by others.
![]() Note:
Note:
|
The login is case-sensitive. Also, there are active links in the graphic below to describe
the function of the button or field. |
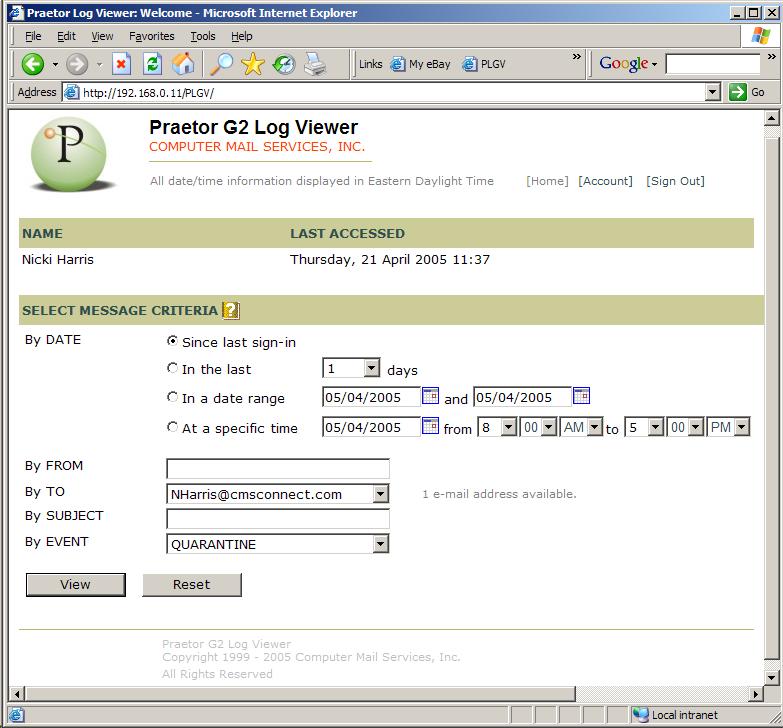
From this main PLGV home page the user can do the following:
Signing out of your PLGV session is important for security purposes, if you use a public computer to access your personal message log. Anyone who tries to use the same machine to access PLGV will then have to provide a valid user login and password.
Pressing  at the top of the screen will allow you to change
the password used for logging into PLGV. This
link only appears if you are using the SQL table authentication.
at the top of the screen will allow you to change
the password used for logging into PLGV. This
link only appears if you are using the SQL table authentication.
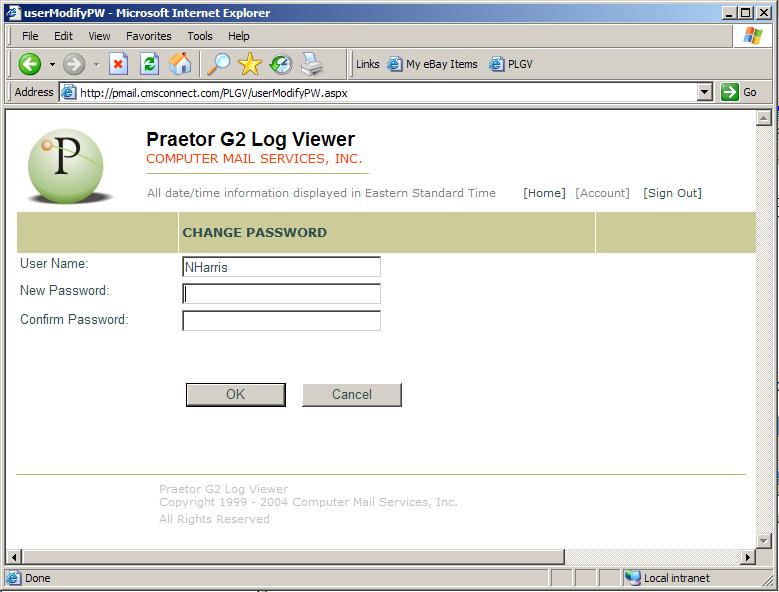
As shown, you must provide the new password twice to confirm it. Press
 to save the password change.
After making the appropriate period selection,
pressing  will then show a summary of all the messages
that Praetor processed for that particular user. If
the user is an administrator, the log entries shown will be for all messages
processed during the period.
will then show a summary of all the messages
that Praetor processed for that particular user. If
the user is an administrator, the log entries shown will be for all messages
processed during the period.
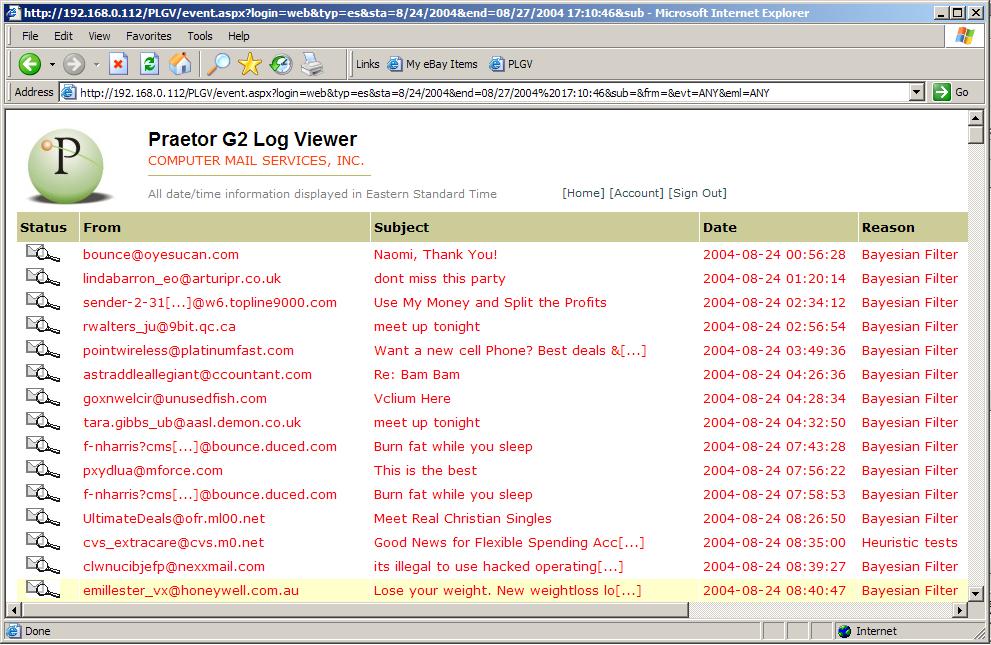
The information summarized are:
Action taken with the message
Date and time stamp when Praetor received the message
Buttons to deal with the message:
To review the message in detail, or
To approve it
Sender address
Subject
Recipient address (who is the user logged in, unless that user is the administrator)
Reason or rule name involved with that message
Similar action buttons as #3 above
Note the use of colors, with lines containing red letters indicating that the message was quarantined and available for release. The yellow highlighted line is one that is selectable. Usually it is enough to see the sender and subject from the above screen, and tell if a quarantined message is non-spam. If that is insufficient, you may click on the summary line to open the message and see the details.
On this message details screen you will find the reason why the message was quarantined along with the message contents in its original and raw form. The raw state of the message displayed in the scrollable window means that attachments will appear in their encoded form so you cannot get infected from viewing any virus in this browser.
The example below cites the reason as being a message whose spamicity or spam probability value is very high, exceeding the threshold set for spam (default is 0.60).
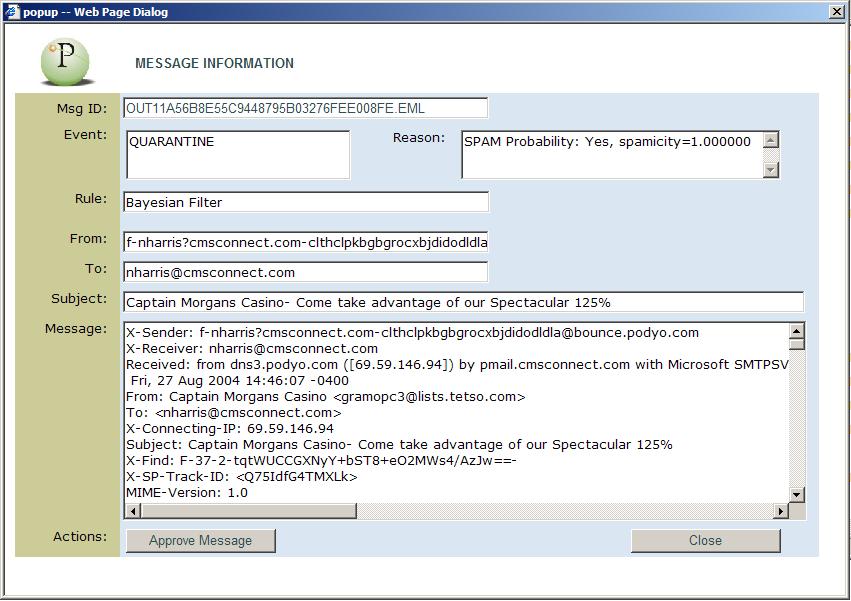
If you want to release the quarantined message, simply press  . Praetor
will then pass the message for delivery to the mail server and you will
receive it in your email client.
. Praetor
will then pass the message for delivery to the mail server and you will
receive it in your email client.
![]() Note:
Note:
|
CMS did not put a Reject button because that is just a needless
step for users to take that also causes the web server to waste CPU cycles.
Instead,
you should rely on the automated
scheduled maintenance task which will age and purge old quarantined
messages. |
Pressing  will clear any selection criteria you previously
chose to filter the log entries, and return back to their defaults which
are:
will clear any selection criteria you previously
chose to filter the log entries, and return back to their defaults which
are:
Since last sign-in
No message attributes filtered