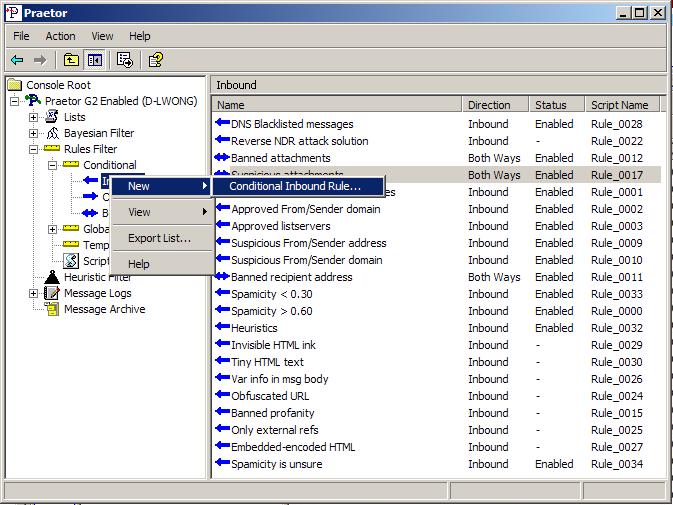
The process of creating a new rule is facilitated by a wizard that is started by highlighting the specific type of rule in the left pane, conditional or global, and then clicking the right mouse button. The difference between these two rule types is that the global rule has no condition(s) to test and so they will always run based on the direction of the message.
Upon invoking the Rule Wizard to create a new condition rule, you will start by selecting the condition(s) by checking the appropriate box(es).
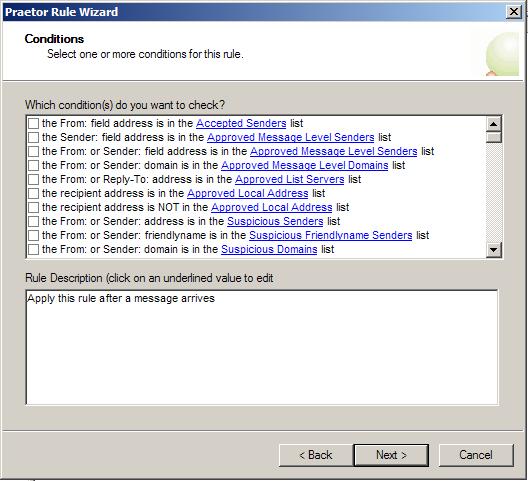
List of available conditions
Once selected, the condition(s) will appear in the lower Rule Description window containing the details. Any required input will be shown by a phrase that is underlined and blue in color; clicking on it will present a user interface for data entry. You may provide the needed entries right away or wait until the rule is fully created.
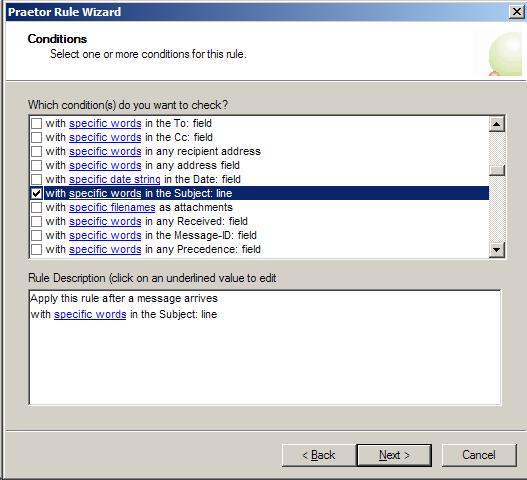
Select the conditions
Press  to proceed with selection
of the rule action(s).
to proceed with selection
of the rule action(s).
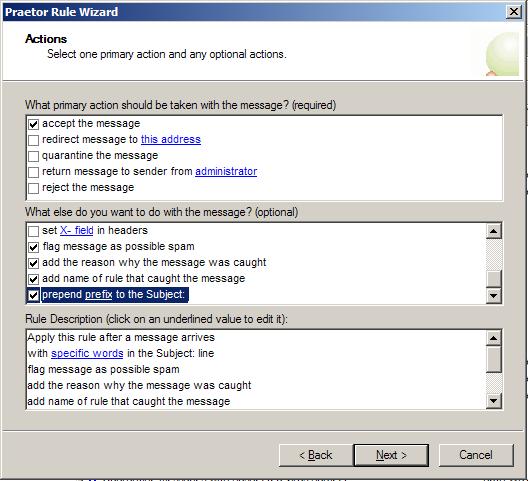
List of available actions
Press to proceed with
selection of any exceptions. If
you have exceptions that require data entry, like the conditions, you
will see an underlined phrase that upon clicking will open an appropriate
user interface.
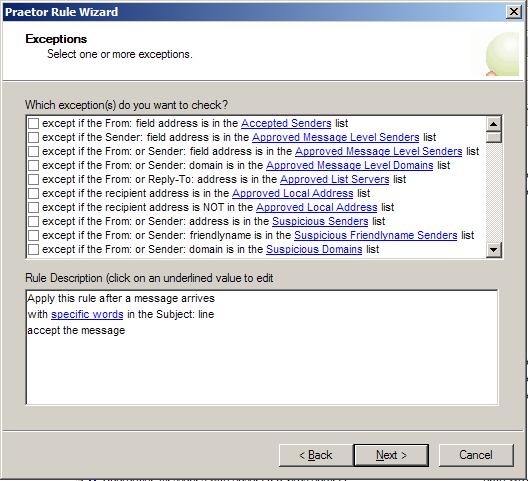
List of available exceptions
Press to proceed to name and enable the completed rule.
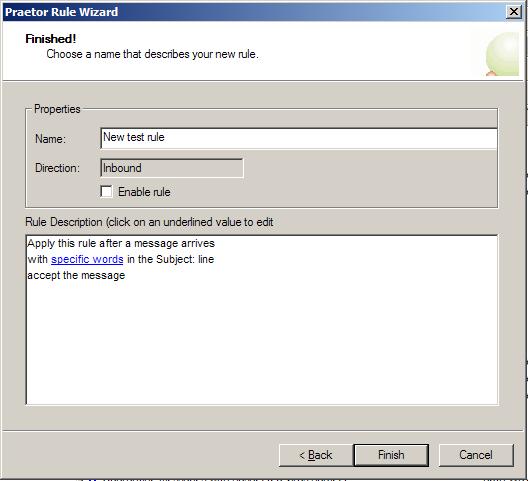
Naming the new rule
Press  to save your newly created rule.
![]() Note:
Note:
|
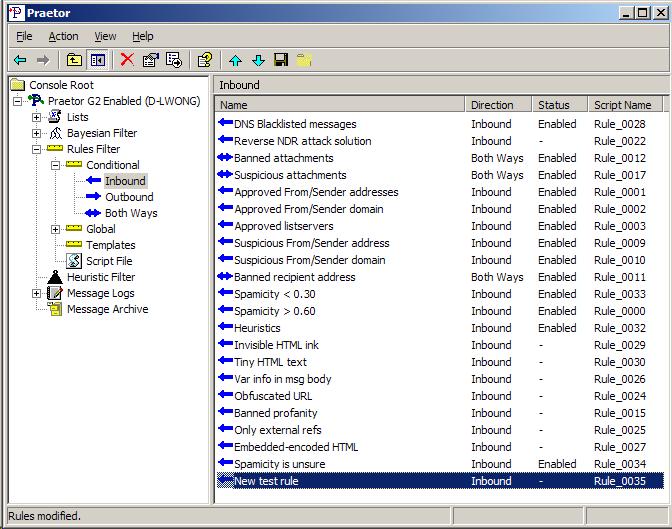
As you can see, your newly created conditional
rule will be positioned at the very bottom of the rule list. You
must keep the "Spamicity is unsure" rule as the very last rule,
so use the When you are done, press the |
In this example no keyword entries were made for the banned subject text. To illustrate the method in which you may modify rules with new entries, let us now add keyword entries to this existing rule.