 to create
new templates.
to create
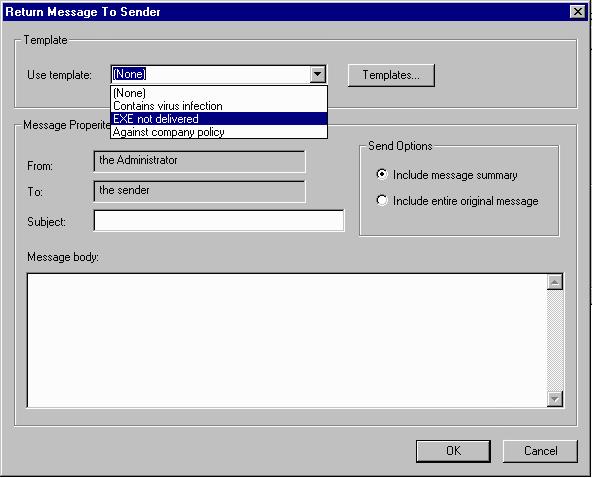
new templates.When you are inspecting a quarantined message and choose the action, the main Return Message to Sender window appears as shown below. Notice that no template is selected and all the message property fields are blank. You can immediately enter the information to be returned with just this message alone, or you may create templates that can be used for other quarantine messages that are to be returned.
Press to create
new templates.
Using pre-created templates is simple — just chose the appropriate one from the drop-down list.
![]() Note:
Note:
|
The templates you see above are merely samples for documentation
purposes only. Praetor
does not come with any factory-supplied templates and so you will see
the following when you press
|
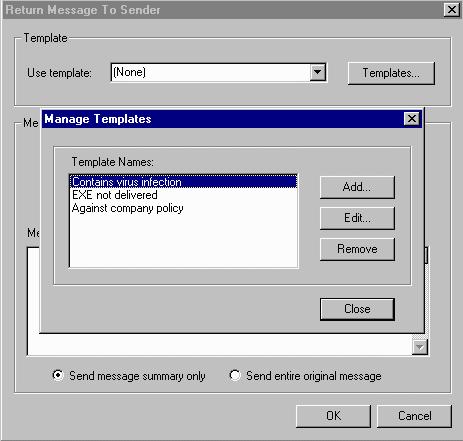
To manage the available templates that have pre-defined message subject
and body text, press . The Manage
Templates window appears and lists any templates that have already
been created as shown below. Here buttons are available to create a new
template (),
edit ()
or delete ()
an existing one.
Pressing  creates a blank template where you may enter
the template name and define what text should appear in the subject and
message body whenever the template is used to return a message to the
sender.
creates a blank template where you may enter
the template name and define what text should appear in the subject and
message body whenever the template is used to return a message to the
sender.
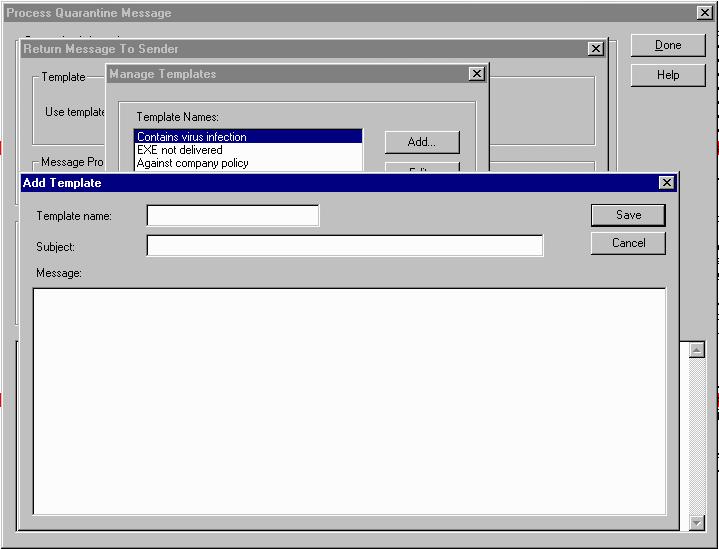
Press  when you are done entering the information for
the new template.
when you are done entering the information for
the new template.
To edit an existing template, select it and press  .
The saved subject and message body text will be displayed and may be edited.
.
The saved subject and message body text will be displayed and may be edited.
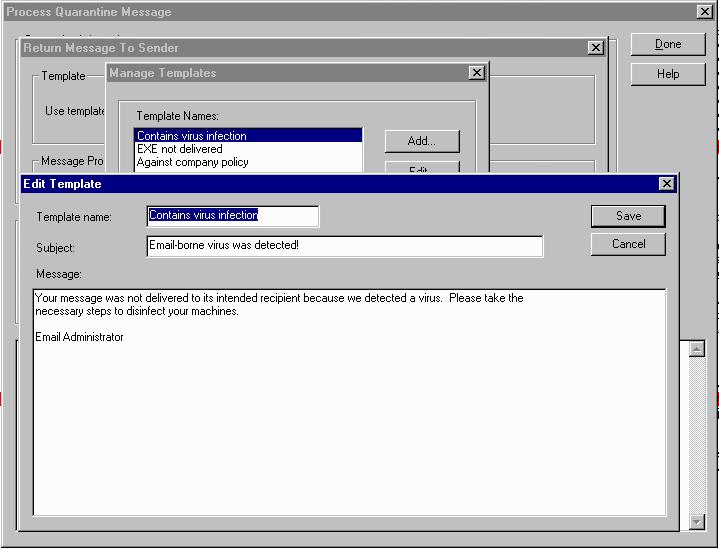
Press when you are done with your changes.
To delete a template, simply highlight the template from the list and
press  .
.