![]() Warning:
Warning:
|
If you have antivirus software running on the Praetor machine, it is imperative that you stop it from operating while you are trying to install Praetor. CMS has found that some antivirus products will prevent successful installation. Also you must configure it so that it will not scan the Praetor and IIS folders. The paths for these are typically
Antivirus software will cause unpredictable behavior and interfere with Praetor normal operation. You will see errors logged into the Windows Event application log. For other caveats involving antivirus products, see this FAQ. |
When the Praetor installer begins the installation process for the SQL
databases, you will already have the Microsoft SQL server in the form
of the free Microsoft SQL Desktop Engine (MSDE) or the full SQL Server
2000 installed on the Praetor machine. Had
it detected no available SQL server, the installer will automatically
cause MSDE to be installed first since this is redistributed with Praetor.
If your Microsoft SQL server is on a machine of its own, then install the
MSDE initially so that the Praetor SQL databases can be temporarily installed,
and then you can export it to your SQL server later.
The installer for the Praetor databases will install two SQL databases:
PraetorClassify, the default token database
PraetorLog, an empty database for log entries
It will also add the appropriate identities for database access according to the Windows OS platform for this G2 machine.
When you run the SETUP program you will be presented with the installer opening screen.

Press  to proceed to the screen where you may specify
where to locate the Praetor databases.
to proceed to the screen where you may specify
where to locate the Praetor databases.
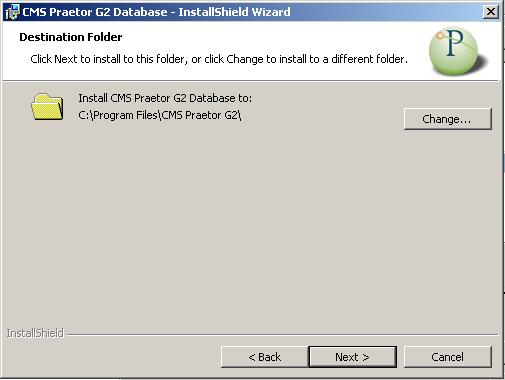
Press the  button if you want to select a different
location than the default Praetor directory on local drive C:. When
you are done with your selections, press to display the
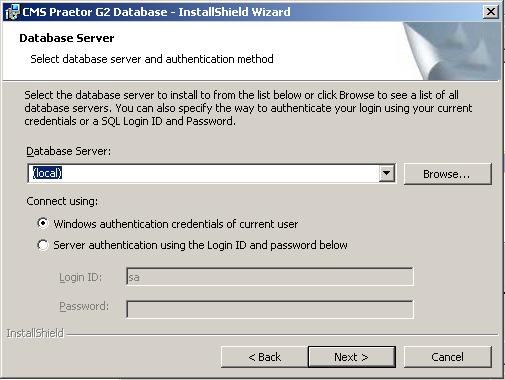
screen allowing you to choose the SQL database server and authentication.
The default
is to use the SQL Server on the local Praetor machine, either the free
Microsoft SQL Desktop Engine (MSDE) or SQL Server 2000, and uses the standard
Windows authentication method.
button if you want to select a different
location than the default Praetor directory on local drive C:. When
you are done with your selections, press to display the
screen allowing you to choose the SQL database server and authentication.
The default
is to use the SQL Server on the local Praetor machine, either the free
Microsoft SQL Desktop Engine (MSDE) or SQL Server 2000, and uses the standard
Windows authentication method.
When
you are done with your selections, press to get to the
final screen. Pressing
 will start installing the Praetor databases.

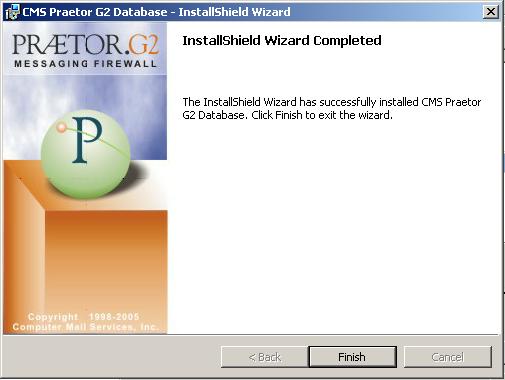
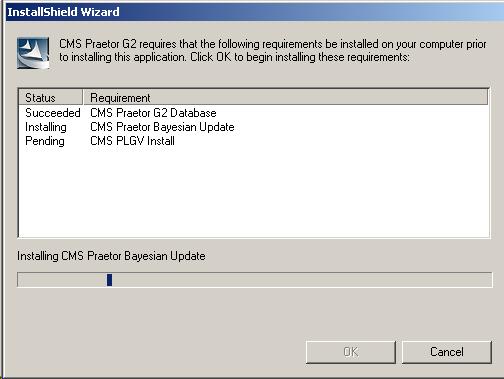
Upon successful completion, you will see the following.
At this point the two Praetor databases,
PraetorLog and PraetorClassify, have been installed but the Bayesian word
table in PraetorClassify is empty. Press
 to proceed populating this word table with the default
entries. The
screen will indicate that it is installing the Bayesian update.
to proceed populating this word table with the default
entries. The
screen will indicate that it is installing the Bayesian update.
When this database has been updated with the default Bayesian word list, then the Praetor installer will automatically proceed to install the remaining components.
If you have a separate SQL Server or were using MSDE but you determined that its workload governor is a limiting problem for Praetor's smooth operation and want to replace it with SQL Server on the same Praetor machine, then you will need to move the Praetor SQL databases to that SQL Server. You can do this by perform these steps after SQL Server has been installed.
|
1.
|
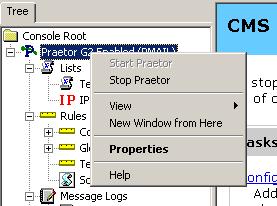
Disable Praetor via the administration snap-in to stop it from operating.
|
|
2. |
Keep in mind that this will not stop the flow of email but will simply disable filtering. If you want to also stop email flow, then you should simply disable the IIS SMTP Server instead of disabling Praetor. |
|
3.
|
Detach the Praetor databases from your local MSDE or SQL Server by using the OSQL tool. From the command line invoke as follows: C> OSQL
-E
|
|
4.
|
If your SQL Server is on another machine, move the following four files found in the main Praetor G2 folder (typically in C:\Program Files\CMS Praetor G2) to that SQL Server machine, locating it in a new Praetor folder that you create.
If your SQL Server is on the same machine as Praetor, skip this step. |
|
5.
|
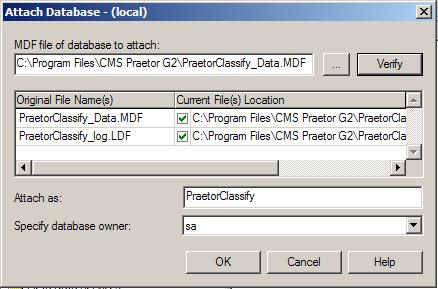
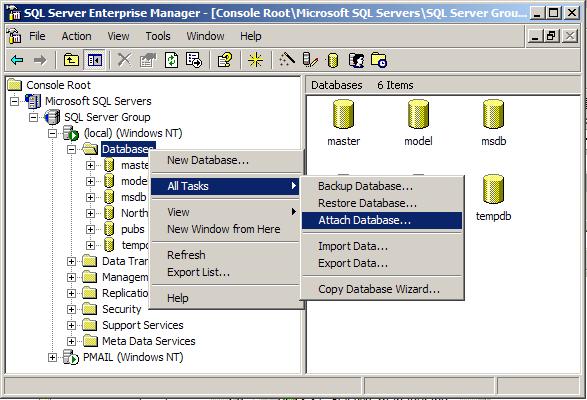
Using the Microsoft SQL Enterprise Manager tool, attach the databases as shown below.
The window to choose the database will appear.
Press
|
|
6. |
Repeat the previous step but choose the PraetorLog_Data.MDF. |
Next you will need to re-configure Praetor and PLGV to specify the SQL Server with these databases. This is discussed below.
Moving the database to a new server other than MSDE means you need to tell Praetor and PLGV how to access that SQL Server.
For Praetor you use the administration snap-in in two ways.
For the token database used by Bayesian filtering, you specify this SQL Server on the options tab page, where you can select or enter the new SQL Server name.
For the log database, a similar setting can be found on the log configuration page.
For the Personal Log Viewer you will use the PLGVAdmin tool.
Only after the new SQL Server has been specified can Praetor and PLGV use the databases.
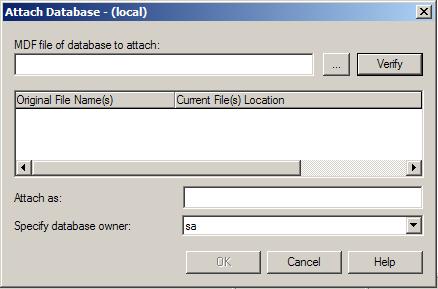
 to browse through the folders and locate and
choose the file PraetorClassify_Data.MDF. Normally
this is in the G2 folder on the Praetor machine as shown below.
to browse through the folders and locate and
choose the file PraetorClassify_Data.MDF. Normally
this is in the G2 folder on the Praetor machine as shown below.